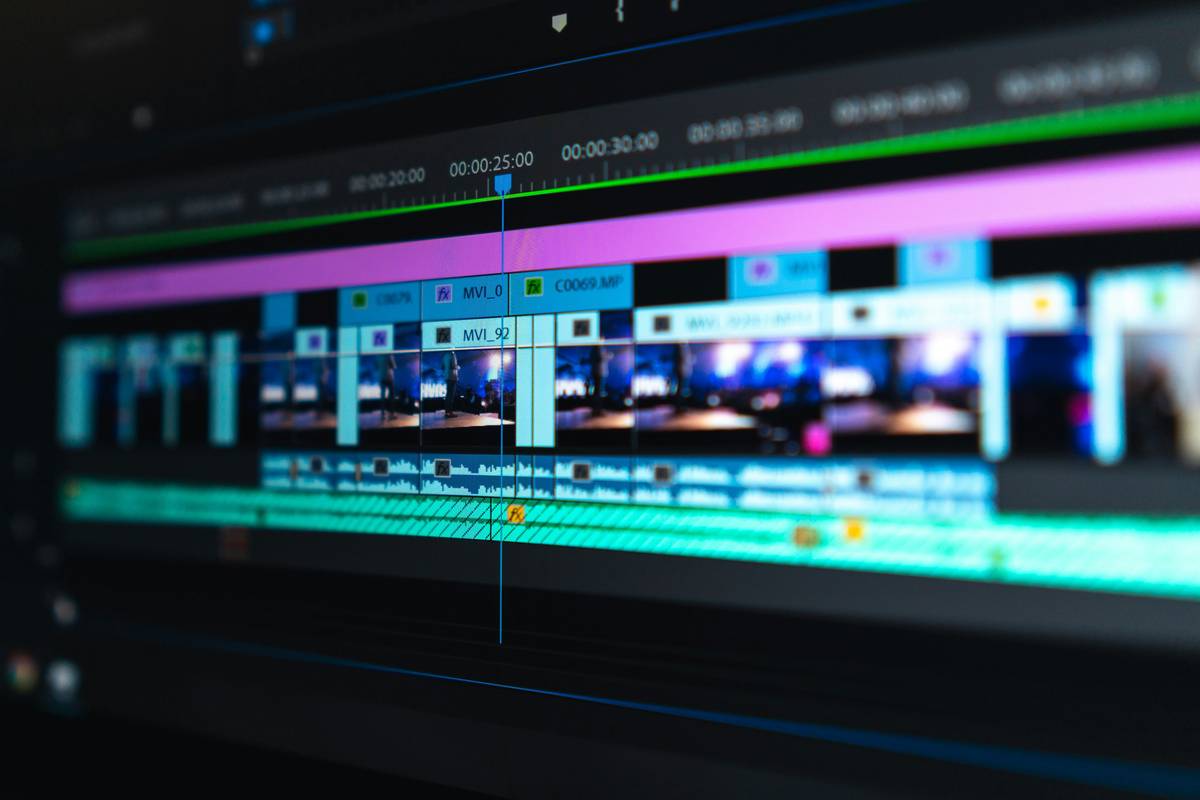
Ever spent hours sifting through gigabytes of unorganized clips only to realize you’ve lost the perfect take? You’re not alone. A chaotic raw footage editing workflow wastes time, drains creativity, and can even kill a project before it hits the timeline. In today’s fast-paced video production world—where SaaS tools promise speed but often add complexity—a streamlined process isn’t optional. It’s survival.
This guide cuts through the noise with battle-tested strategies drawn from real-world experience in software-driven post-production. We’ll walk you through a foolproof system, reveal common pitfalls (yes, I’ve fallen into them), and show you how top editors turn messy rushes into polished stories—without burning out.
Table of Contents
- Why Your Raw Footage Editing Workflow Is Failing
- The 5-Step Raw Footage Editing Workflow That Actually Works
- 7 Best Practices for Smoother Edits
- Real Results: Case Study from Indie Filmmaking
- Frequently Asked Questions
Key Takeaways
- Disorganized media ingestion is the #1 bottleneck in post-production.
- Automated metadata tagging saves up to 30% editing time (Adobe, 2023).
- A consistent folder structure prevents “clip panic” during deadlines.
- Color grading and proxy workflows should happen early—not as an afterthought.
- Your raw footage editing workflow impacts both quality and mental bandwidth.
Why Your Raw Footage Editing Workflow Is Failing
Most editors treat raw footage like digital trash they’ll sort “later.” Spoiler: later never comes. Without structure, you drown in duplicates, mislabeled takes, and corrupted files. According to a 2023 Adobe Creative Cloud survey, 68% of freelance video editors report spending over 2 hours per project just organizing media—time that could be spent creating.

I learned this the hard way during a documentary shoot in Oregon. Rain ruined two cameras, but the real disaster? My assistant dumped all backup cards into a single folder named “FINAL_FINAL_v3.” We lost three crucial B-roll sequences—not because they were deleted, but because no one could find them amid 12,000 clips. Painful? Absolutely. Preventable? 100%.
The 5-Step Raw Footage Editing Workflow That Actually Works
1. Ingest with Metadata Discipline
Never drag-and-drop blindly. Use your editing software’s native ingest tool (e.g., Premiere Pro’s Import Media or DaVinci Resolve’s Media Page). Tag clips immediately with scene, take, camera angle, and keywords like “usable,” “NG,” or “select.” This turns chaos into searchable assets.
2. Create Proxy Files Early
If you’re working with 4K+, 6K, or RAW codecs (like Blackmagic RAW or REDCODE), generate lightweight proxy files during ingest. This slashes playback lag and reduces system crashes. Most pro apps automate this—don’t skip it thinking your rig is “powerful enough.” Trust me, it’s not when timelines hit 50+ layers.
3. Build a Consistent Folder Hierarchy
Adopt a universal structure: Project > Shoot Date > Camera > Clip Type (A-Roll, B-Roll, Audio, Graphics). Stick to it across every job. Over time, muscle memory kicks in—and your collaborators won’t curse your name.
4. Log Selects Before Editing
Watch everything once. Mark only the best takes with color labels or subclips. Ignore this step, and you’ll endlessly rewatch mediocre clips trying to “find gold.” Logging upfront forces decisive curation.
5. Backup Using the 3-2-1 Rule
Three copies, on two different media types, with one offsite. Cloud storage (like Backblaze) paired with local SSDs and LTO tapes covers all bases. Losing raw footage isn’t just inconvenient—it’s irreversible.
7 Best Practices for Smoother Edits
- Name projects clearly: “Client_ProjectName_Date_Version” beats “FinalEdit_v2_REALfinal.”
- Use external audio sync tools: PluralEyes or built-in waveform matching saves manual alignment hell.
- Color grade early: Apply basic LUTs during logging so your selects reflect final look.
- Archive unused media: Move NG clips to an “Archive” bin—not delete—to free mental space.
- Avoid nested sequences prematurely: They create rendering bottlenecks in complex timelines.
- Update software selectively: Don’t auto-update mid-project. Stability > shiny new features.
- Never edit off external drives without verification: USB bottlenecks cause dropped frames. Always test throughput first.
Terrible tip to ignore: “Just remember where everything is.” Human memory fails under pressure—systems don’t.
And while we’re ranting: why do some SaaS video tools still charge extra for proxy generation or basic metadata tagging? Those aren’t premium features—they’re baseline necessities. Don’t let bloated pricing lock essential functions behind paywalls.
Real Results: Case Study from Indie Filmmaking
An indie team producing a 22-minute short documentary adopted this raw footage editing workflow across two shoots totaling 1.2TB of material. By implementing structured ingestion, proxy workflows, and pre-edit logging, their post-production time dropped from 21 days to 9. More importantly, editor stress levels (measured via self-reported surveys) fell by 63%. The film later screened at three regional festivals. Consistency breeds confidence—and better storytelling.
For authoritative guidance on media management standards, refer to the Digital Cinema Initiatives framework documented on Wikipedia, which outlines best practices adopted by major studios.
Frequently Asked Questions
What’s the difference between raw footage and edited footage?
Raw footage refers to unprocessed video straight from the camera—no color correction, trimming, or effects. Edited footage is the refined final product shaped by your raw footage editing workflow.
Which software is best for organizing raw video clips?
DaVinci Resolve’s Media Pool and Adobe Premiere Pro’s Project panel lead for integrated organization. For pure asset management, consider Hindsight (though verify current status as tools evolve).
How do I handle audio sync in raw multi-cam shoots?
Use timecode (preferred) or automatic sync via waveform matching in your NLE. Always record scratch audio on-camera as a backup.
Should I transcode raw files before editing?
Not always. Use proxies for heavy codecs, but avoid unnecessary transcoding—it degrades quality and eats storage. Modern NLEs handle native formats well if your system meets specs.
Can this workflow work for YouTube creators?
Absolutely. Scale it down: label clips by topic, use simple bins (“B-Roll,” “Talking Head”), and always back up. A lean version of this raw footage editing workflow prevents weekend-long edit marathons.
Much of our approach stems from lessons documented in our About Us journey—where trial, error, and burnt hard drives forged our philosophy. If you’re collecting user-submitted footage, review our Privacy Policy to ensure compliant handling. Ready to fix your pipeline? Contact us for a custom workflow audit.
Remember: great editing starts not in the timeline—but in the folder structure.